If you are trying to improve your home lighting, and want to get rid of an old Halo recessed housing, you might be interested in knowing its complete procedure. This comprehensive guide takes you through the basic steps of removing Halo recessed light housings. Regardless of how complicated it may seem, this guide will help you remove your Halo recessed light housing with ease.
Troubleshooting Tips for Specific Models
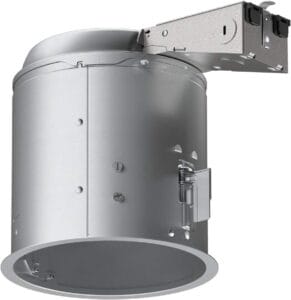
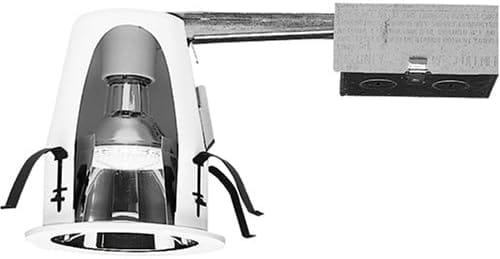
Spring Clip Models
In case your halo recessed light model uses spring clips, search around the rim area for them. Use a flathead screwdriver or another tool similar to it to gently press outward on them and let go of the housing.
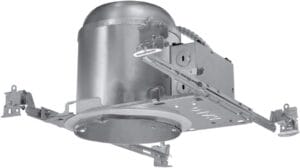
Mounting Bracket Models
For models featuring metal brackets, locate the screws holding them down and take them away cautiously so that you can separate the housing from such brackets.
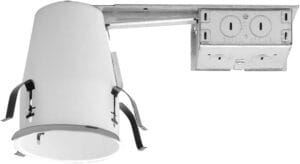
Remodel Can Models
Remodel cans are made in such a way that they can be easily detached hence there could be screws holding the trim. After removing such screws look for tabs or springs to release the housing.
Important Precautions for a Seamless Removal Process
1. Turn off the Power
Safety comes first when you’re dealing with electrical stuff. Start by flipping the switch off at the breaker box to cut the power to the light. This simple but crucial step makes sure you’re working in a safe zone when removing the fixture.
2. Remove the Trim
The trim on Halo recessed lights is generally secured by springs positioned within the frame of the light itself. Thus when getting hold of these housings draw down their trims extremely slowly utilizing nails placed underneath their edges and thumbs put at their inner parts while pulling them gently towards yourself.
3. Disconnect the Wires
Upon removal of trim from its place one gets access to the housing and wires. Unplug the light first then go ahead and disconnect the wires. It may sound simple enough but this step is really important if you want to remove your lights safely and easily.
4. Release the Housing
Housing fixings are usually through spring clips holding it in place. Pull down straight with a slight twist as you release them so, that’s when everything will come loose and can fall away from the springs on which it is hung by its wire only.
5. Access the Housing/Wiring
Once housing has been freed, reach inside for both housing and wiring. This part of the process is crucial if you are considering making any adjustments or swapping out parts in a recessed light fixture. This allows changes to be made without any stress or headaches.
Remember, when you’re dealing with electrical stuff, play it safe. If things get a bit confusing or you’re unsure, it’s a good idea to call in a professional electrician. Don’t take chances with electrical safety—getting advice from an expert guarantees a hassle-free and secure removal process.
Dealing with Spring Clips: A User’s Perspective
There have been issues raised by some users regarding Halo recessed light spring clips. They are inserted into cans by pushing up from below creating pressure against the ceiling during the installation process though they could get stuck thereby being frustrating at times leading to a few curse words too!
Installation Woes
Push these clips upwards using a screwdriver from the inside towards the ceiling to install them. This creates pressure against the ceiling itself, which involves having screws driven up into canisters that fit tightly around bulbs at two different points on their circumference. During placement, you can also stretch the clips slightly to reduce the amount of force needed to keep them firmly in place before releasing your grip.
Removal Challenges
Removing spring clips can be tricky. It may require some effort and patience. Be careful to avoid hurting yourself. Once removed, the clips may be bent and need to be straightened or replaced.
Considering Brute Force
For those who don’t care about what happens later, some brute force might help too. However, this option should only be taken as a last resort as it may damage recessed light components.
Tips for a Smooth Removal Process
It takes more than that to get out of the removal process without any hitches. Here are some tips that can help make this task less intimidating:
1. Lubricate the Clips
Applying a lubricant to the clips can help reduce friction during removal. This simple step might distinguish between a struggle and a smooth process.
2. Use Proper Tools
Having the right tools at your disposal is crucial. Ensure you have a screwdriver that fits the clips snugly, minimizing the risk of slippage and potential damage.
3. Seek Professional Advice
If all else fails, don’t hesitate to seek advice from professionals. Local electricians or lighting experts might provide valuable insights and assistance.
Conclusion
A careful approach to Halo recessed light housing removal is needed, considering the specific model and type of installation. You can ensure a smooth removal process by following the provided steps and troubleshooting hints for different models. Stay safe; treat electrical components with care, ask for help when necessary from professionals.
Frequently Asked
Q: Are the clips reusable after removal?
Absolutely! While removal might bend them out of shape, most clips can be straightened and reused. If not, you can always opt for new ones.
Q: How can I avoid damaging the clips during removal?
Take your time and apply steady pressure. If possible, use lubrication to reduce friction, preventing damage to the clips.
Q: Why is the Halo system considered challenging compared to others?
Halo’s clip system, although effective, can be trickier during removal. Unlike systems with springs, Halo’s design adds complexity to the process.